PvP modes and maps for closed beta test
Friends!
If you love PvP, then this news is for you! In the first stage of the closed beta, taking place August 30 through September 2, you’ll have immediate access to 4 dynamic modes and multiple maps that we’ll tell you about now.
Team Deathmatch mode
A tried and tested classic. Two sides fighting against one another with respawns after death. The winner is the team that reaches the 150 enemy kill limit first, or has the most kills when the battle time runs out.
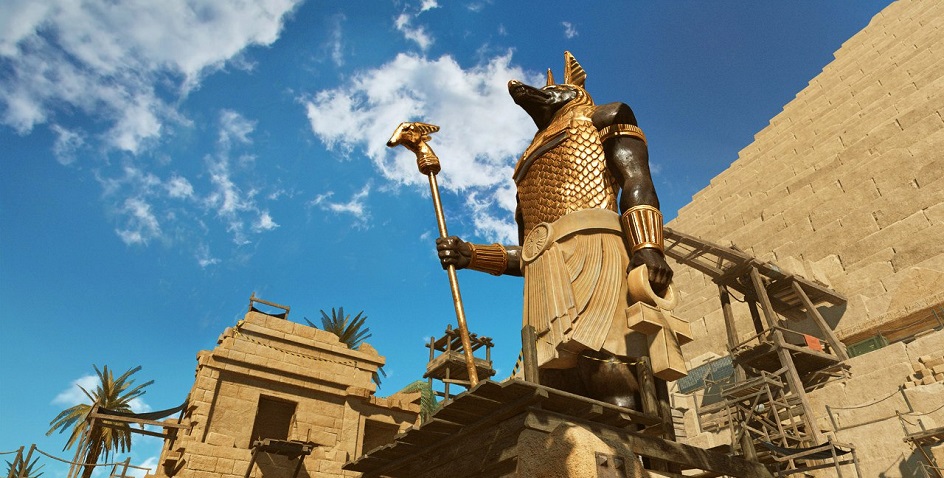
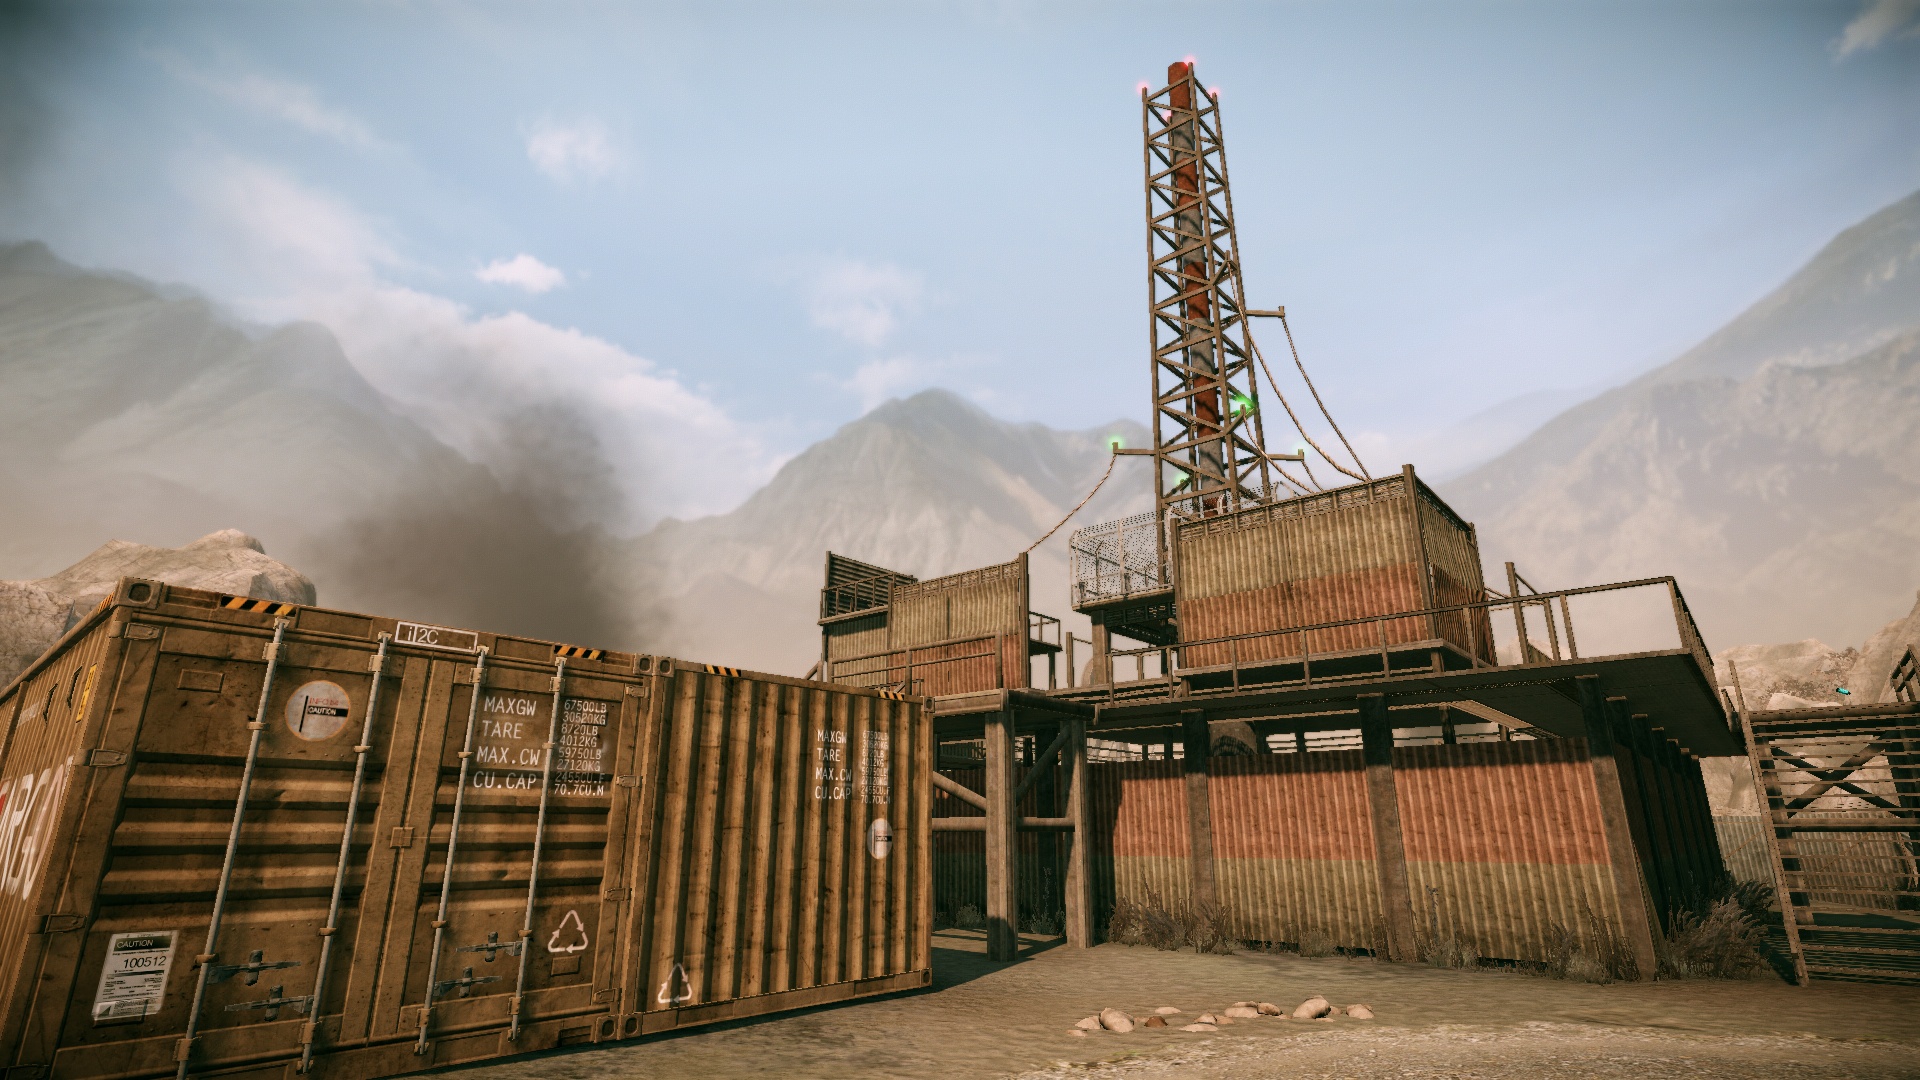
Team Death Match: Launch. The action takes place at one of the Blackwood's engineering facilities, situated deep in Africa. The task at hand is simple: eliminate the enemy squad.
This battle's going to be tough and hot, quite literally! The blistering heat shows no mercy, and you'll be fighting stranded in an unfamiliar compound that seems to be living a life of its own -- rocket site platforms will be constantly moving and you'll have to adjust your strategy accordingly.
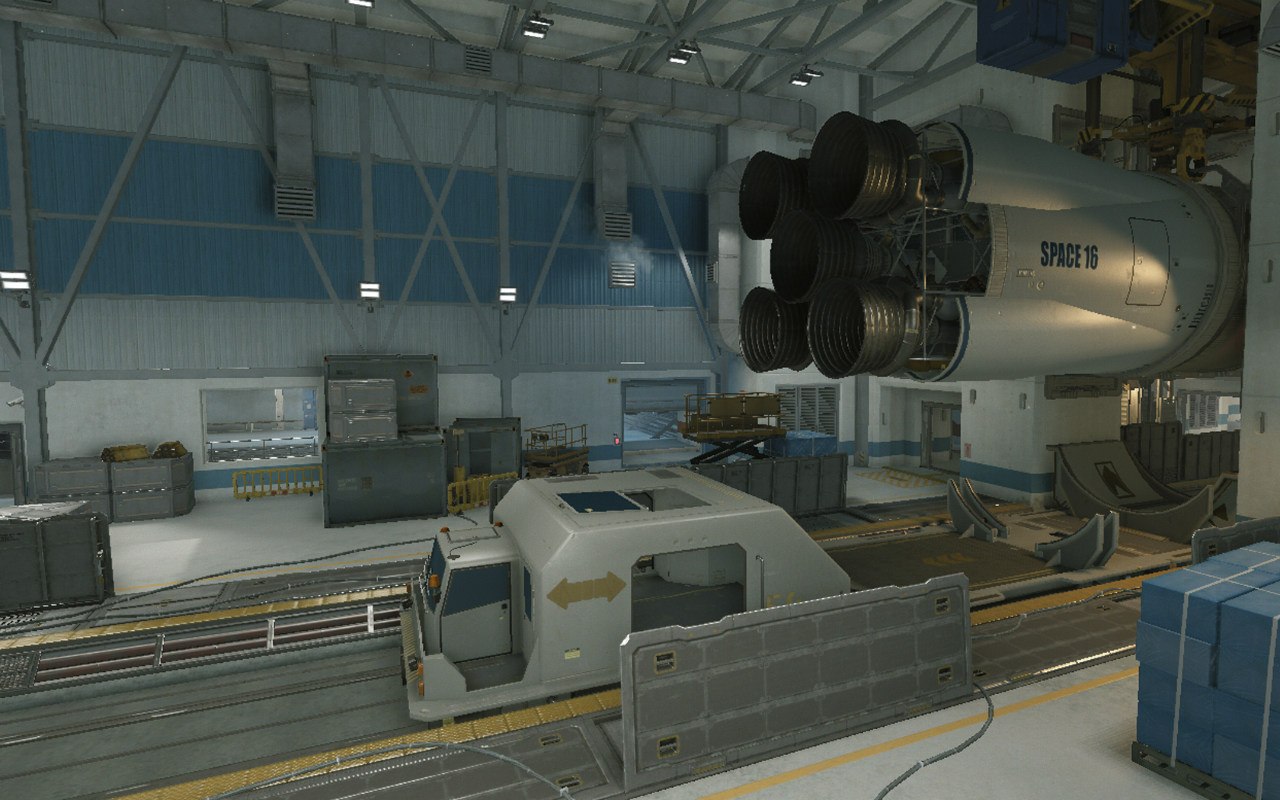
Take note of several vantage points that snipers love so much -- help your team secure them and deny the enemy the same benefit, these will grant true superiority in this battle.
Map: Street Wars. According to our intel, Blackwood is planning a mission to terrorize the peaceful inhabitants of a small provincial town in Nevada. We can’t allow any innocents to die, nor can we allow the enemy to reinforce their positions in this territory. Go to the site and eliminate the enemy squadron before it breaks through to the neighboring districts.

The battle will take place on the streets of a city district, primarily built up with single-level houses. Use backyards to flank your enemy, and don’t forget to mine the approaches to your position if you need to hunker down. There are plenty of abandoned cars on the road that can serve as good cover if you want to avoid a direct firefight.
Free for All mode
Forget all about teamplay and collaboration – it’s everyone for themselves in this mode. The winner is the one that collects the most points by the end of the match. There can only be one victor, so movement is your primary and essential task in this mode.
After death, the player respawns in a random place on the map and can continue the battle. The fight takes place on large maps, so you can catch the enemy unawares at any moment.
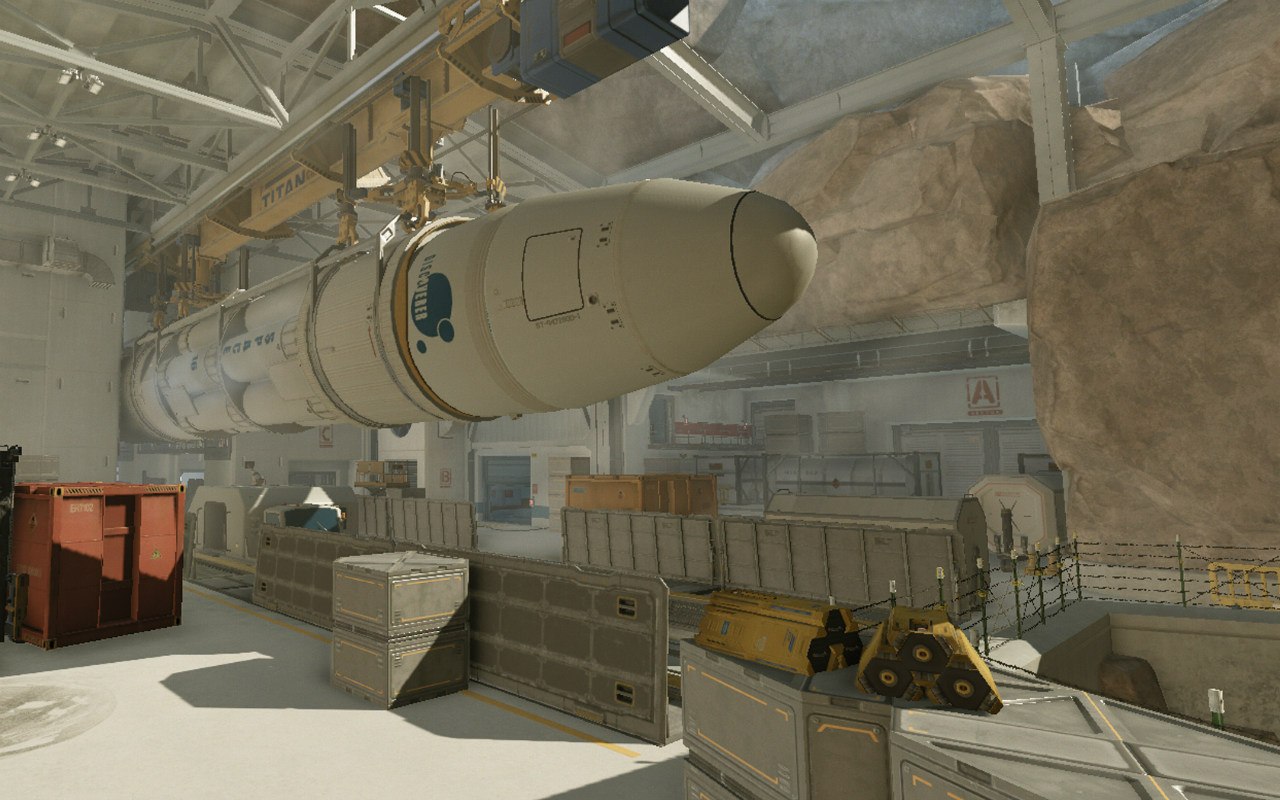
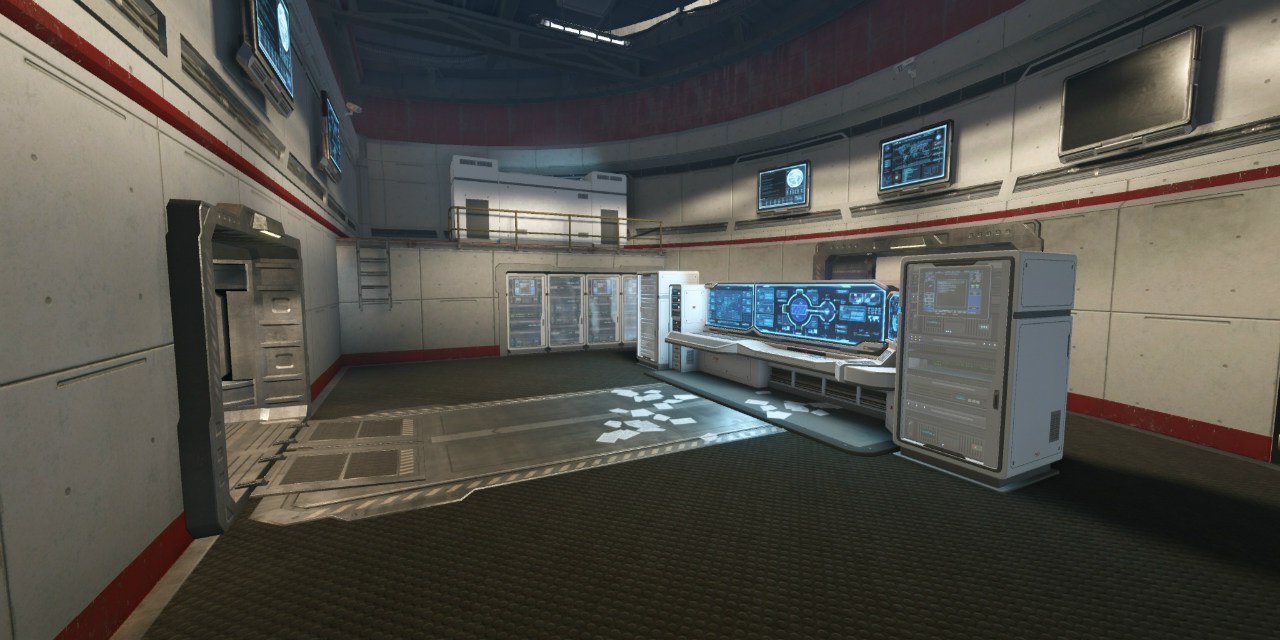
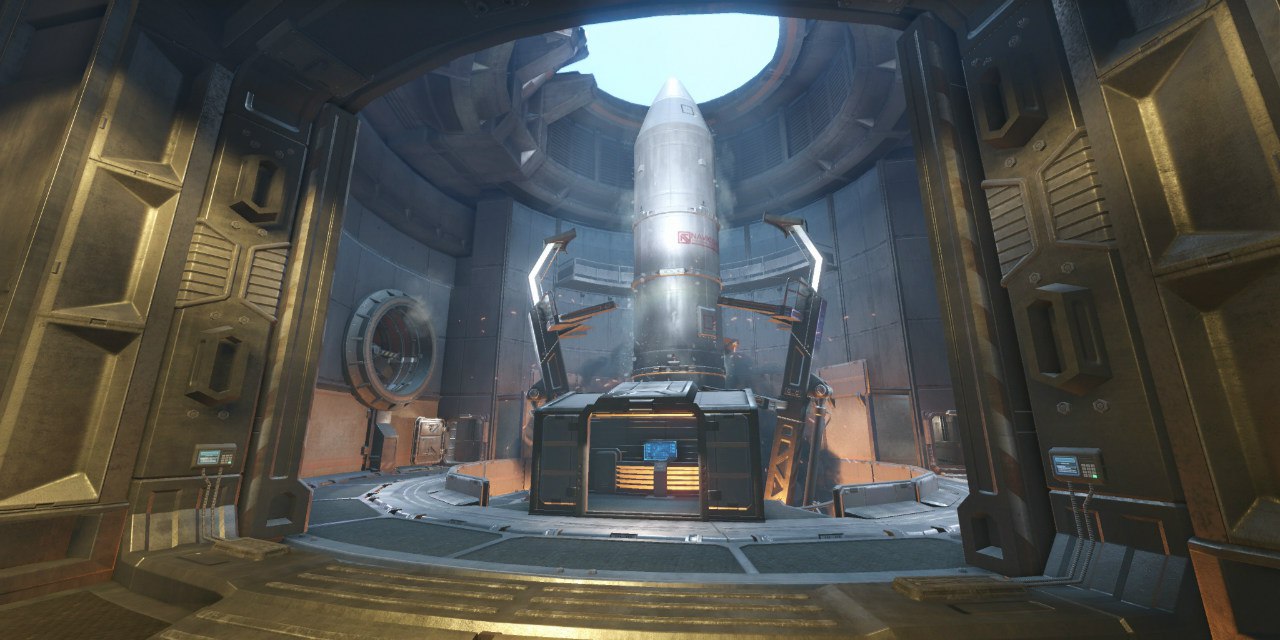
Free for All: Bunker. Recent combat ops left this rocket site bunker unguarded and thus turned into perfect hunting grounds for those scavenging for data. Once you're deployed, follow this simple pattern: shoot first, ask questions later. Chances are, you won't find any friends or allies here, so stay frosty.

Your call to dig in or go mobile, but you best stay quiet -- or you'll be ringing the doorbell for those that are smart enough to do so! Stack up on nades and mines and use them frequently.
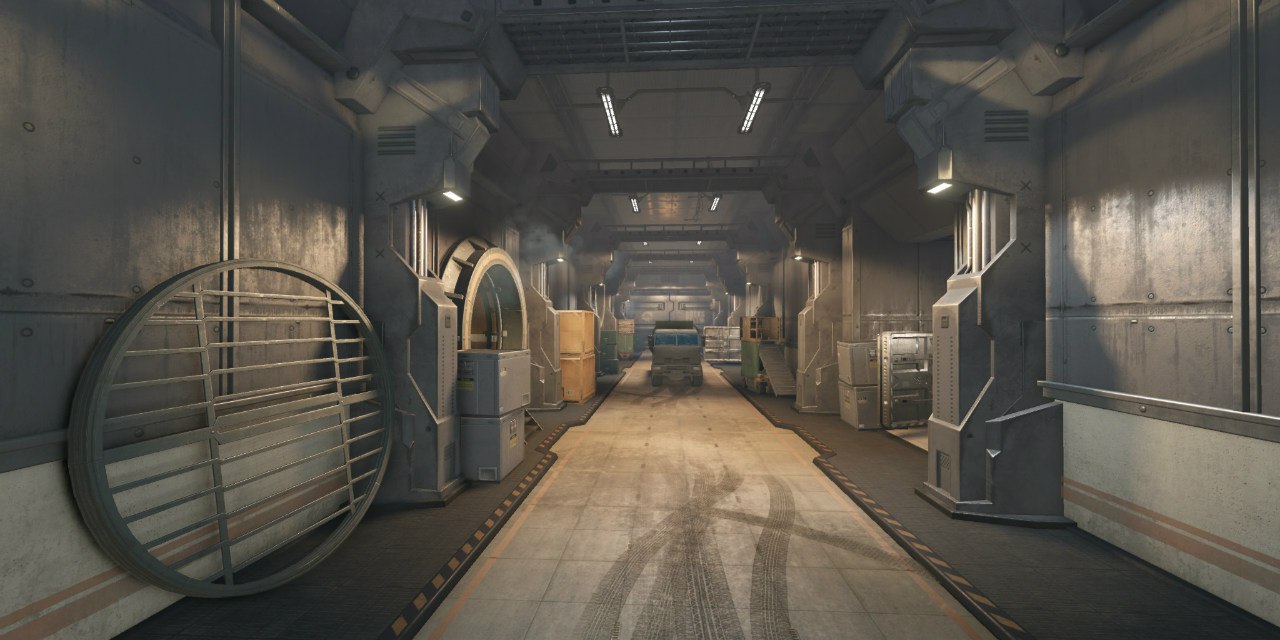
Don't forget the air vents, they can help you navigate to different levels of the bunker that bumps up your chances in the hunt!
Map: Downtown. You must travel to a city in the Balkans. A column of vehicles is pinned down by artillery fire not far from the main square. The vehicles are carrying valuable papers, and very soon the area will be crawling with mercenaries, headhunters, deserters and other seekers of easy prey. Your mission is to eliminate everyone that gets in your way.
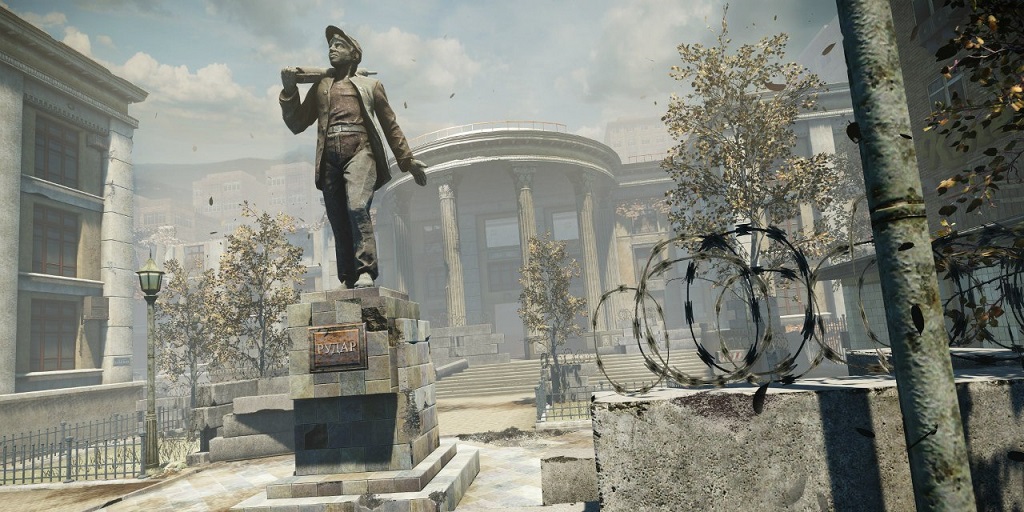
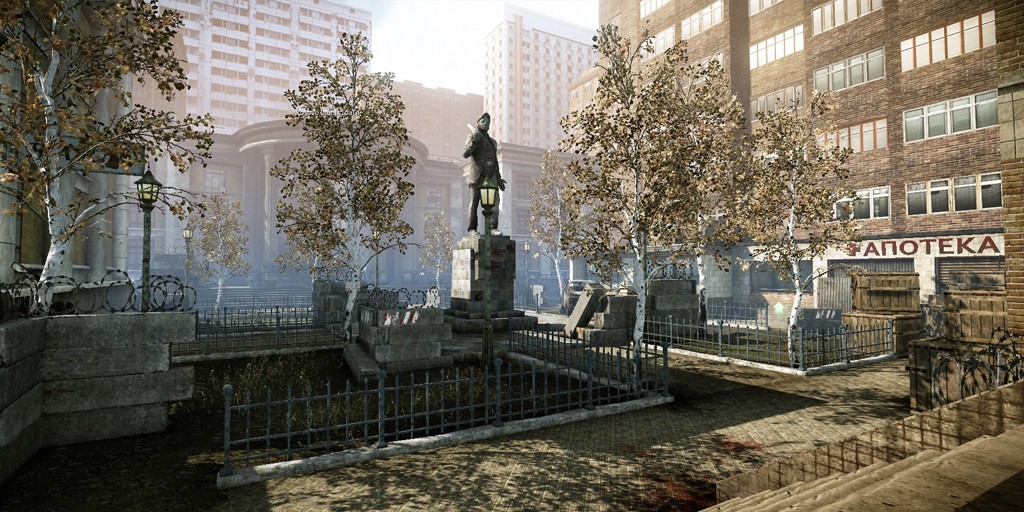
Be extremely careful: the area is under heavy fire, so try to be the first to take up sniper positions; this could turn the tide of the battle in your favor. Keep a cool head while storming ruined buildings; they could be mined, and there’s almost definitely an ambush waiting for you.
Plant the Bomb mode
In this mode, the task of the attacking team is to break through the enemy defenses and plant a bomb at one of the positions. In their turn, the defenders must stop the explosives from being set or disarm them in time if the attacker does manage to place the charge.
To win the round, you must either detonate or disarm the bomb, or eliminate the opposing team entirely. Each round lasts 2 minutes, but setting a bomb changes this time and has its own 50 second countdown.
Plant the Bomb: Bridges 2.0. The battle will be taking place at a village separated by a shallow river with two bridges that serve as crossings and ultimate fighting grounds.
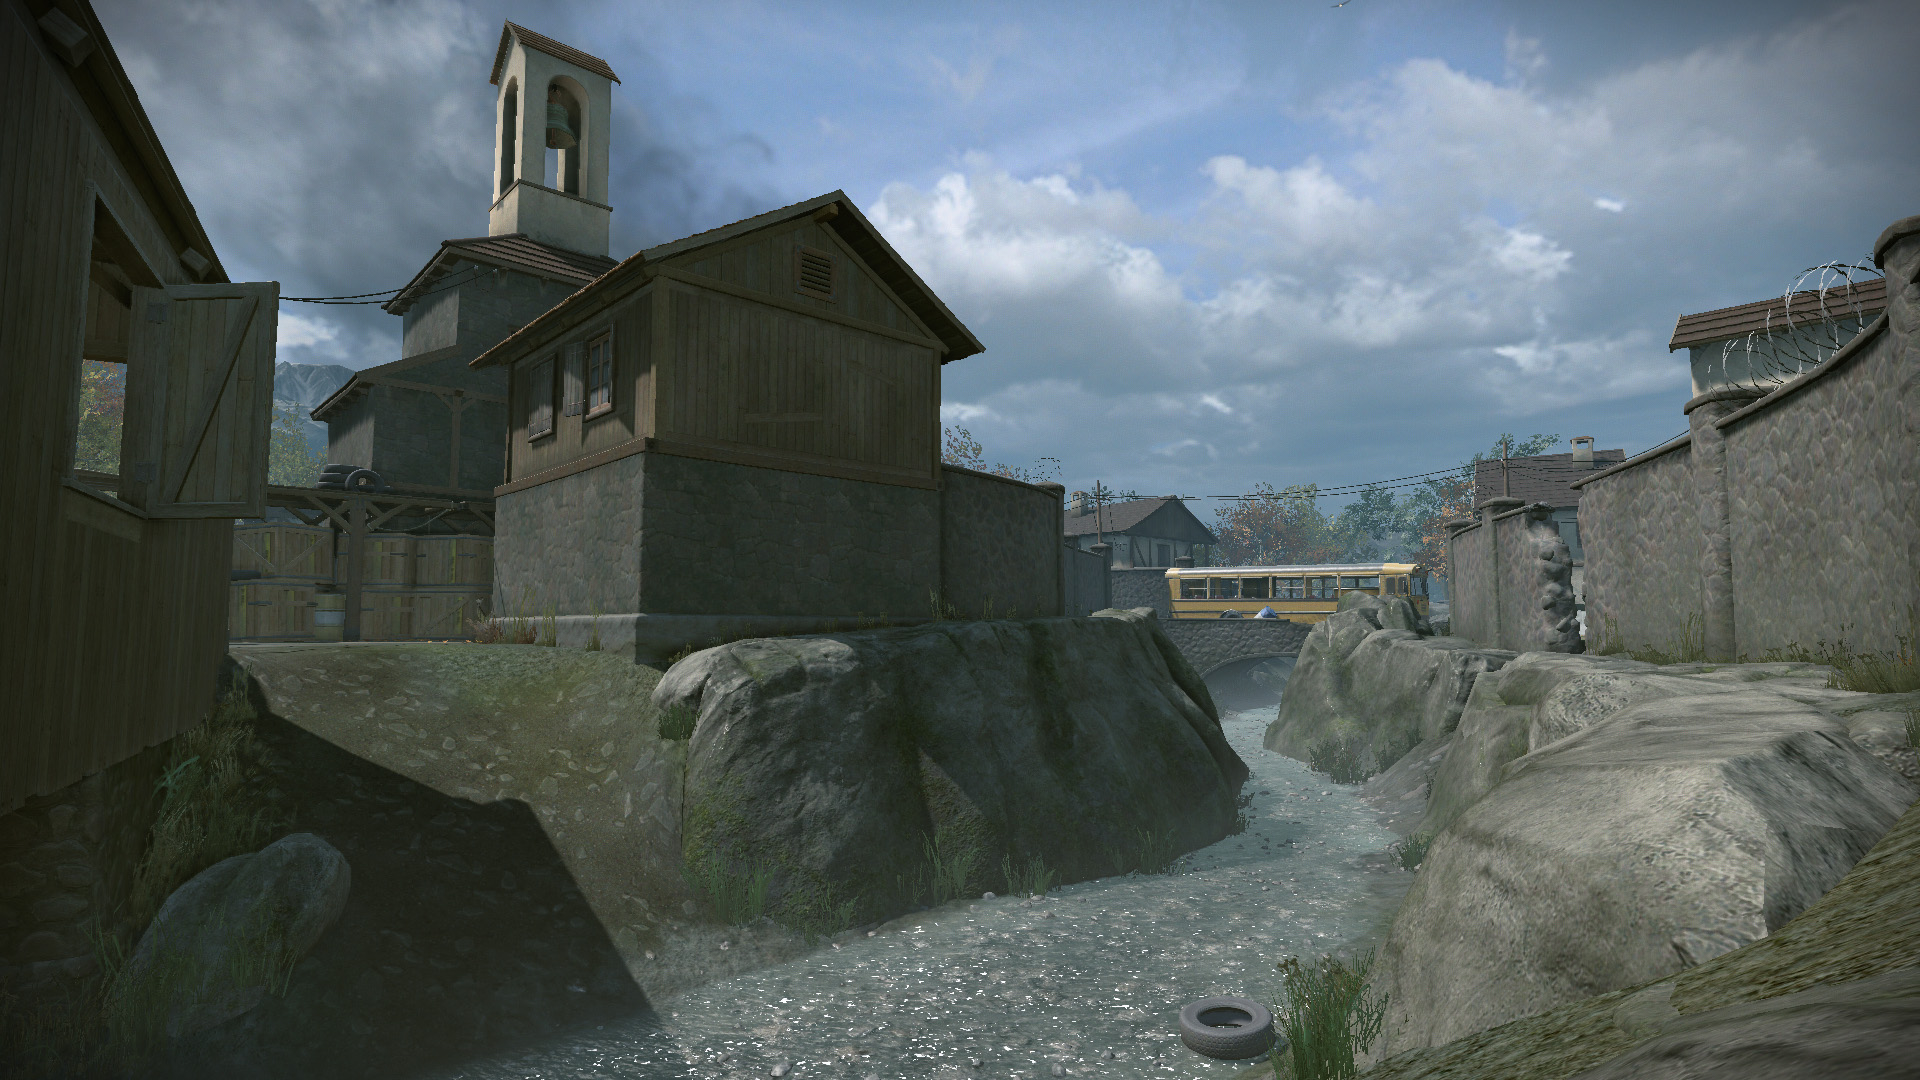
You will find plenty of abandoned equipment, vehicles and crates in the area that provide reliable hard cover. Tread carefully crossing the river -- the stream may not be as deadly, but enemy marksmen won't miss the chance to take you out.
One team is tasked with planting the bomb at one of the two strategic sites and making sure it goes off, whereas the opposing team has to prevent that from happening. Good luck out there!
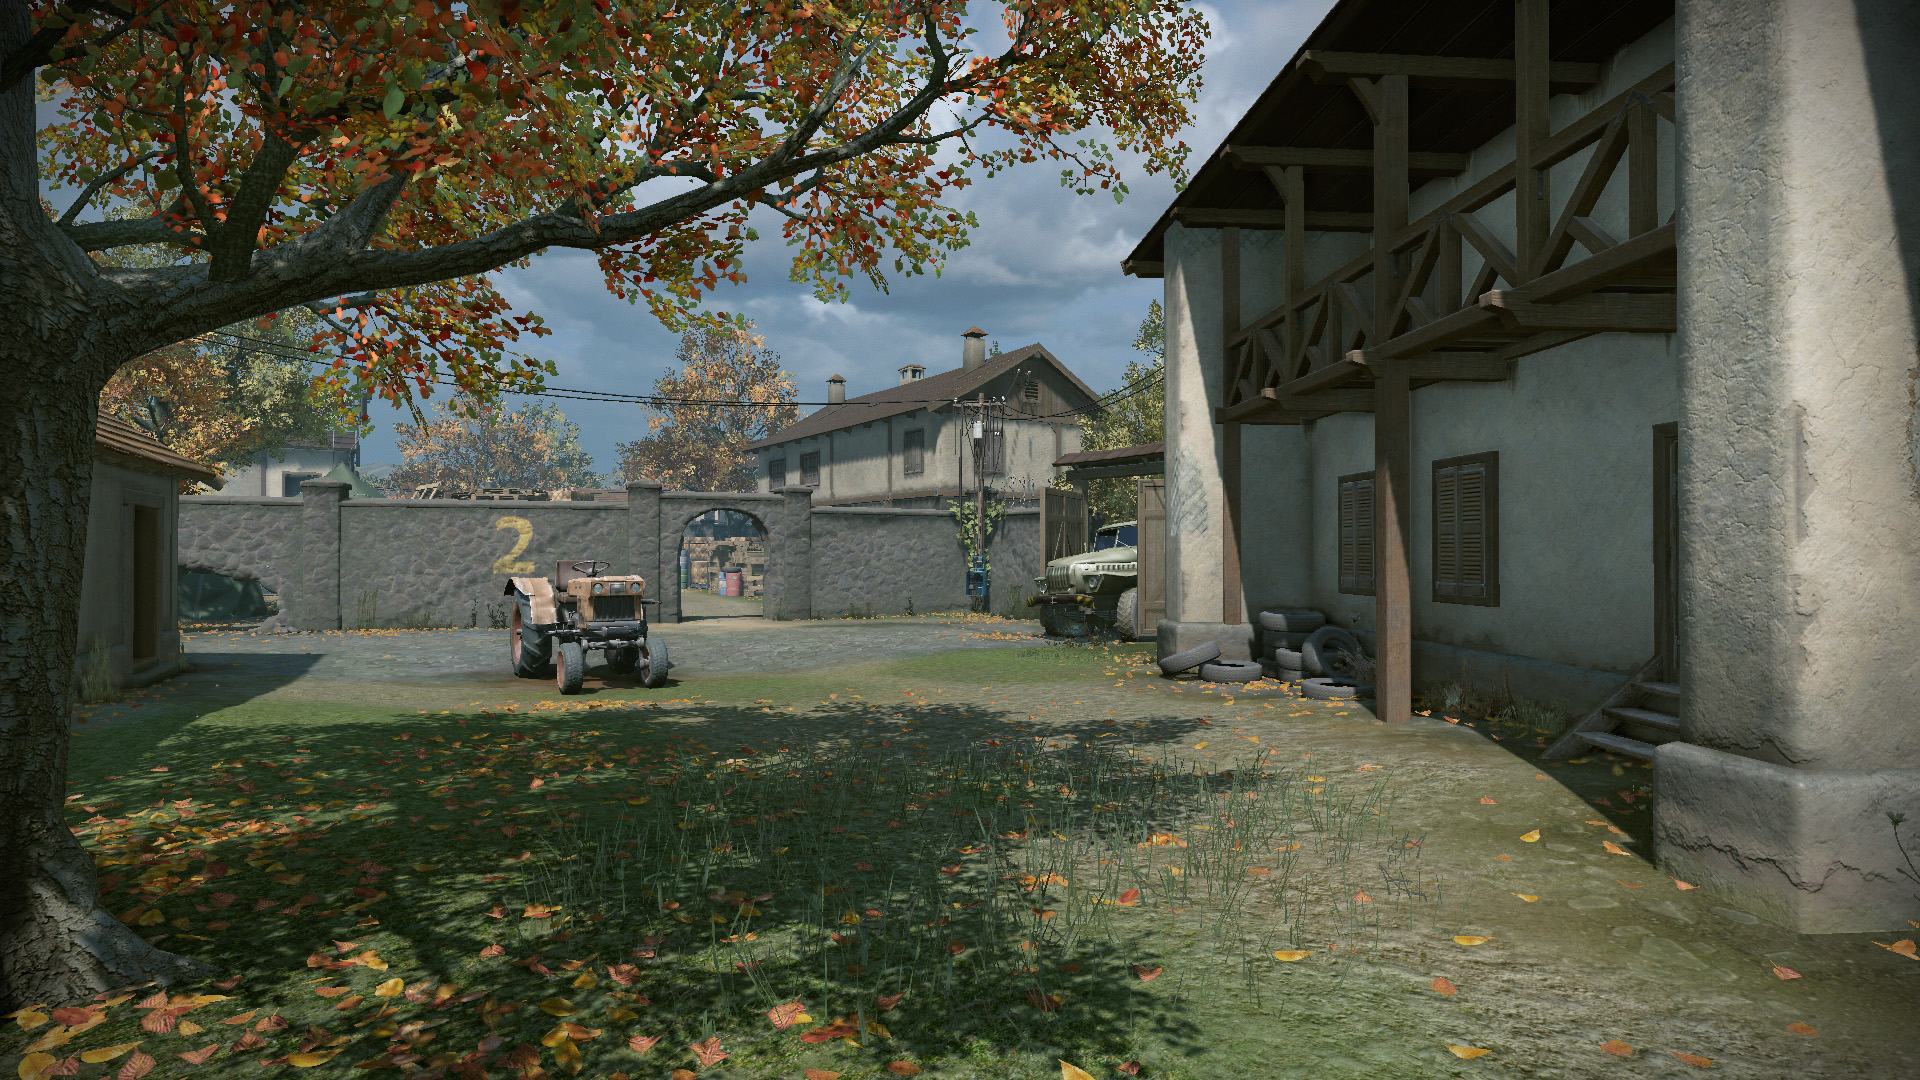
Map: Yard 2.0. The enemy is in a hurry to retreat from the Middle East, destroying everything of any value in the process. They make no exception for a cargo of humanitarian aid mistakenly abandoned in enemy territory. You must protect it at any cost! Try to reach the two key objects before your opponent, otherwise they will mine the cargo, and then you’ll have just 50 seconds to act quickly and decisively.

The wide and winding streets are under heavy fire, but you can use one of the back ways. Take over rooftops and other advantageous positions to lay an ambush and get your enemy stuck in crossfire.
Storm mode
The aim of one team is to capture the enemy strongholds, and the other team’s aim is to hold them. There are three of those strongholds in total, and they must be captured in sequence. After each capture, the respawn point of the defenders moves to the next stronghold, and the attackers advance from the taken position.
The teams change roles if all three checkpoints are captured or the time for the assault runs out. The winner is the team that captures the most points and does so faster than the opponent.
Storm: Black Mamba. The attacking team is tasked with initiating a missile launch, which will require you to capture and hold three consecutive checkpoints in a row.
The first checkpoint is a radiolocation land station. Once captured, it'll cut enemy communications and open the path to the main bunker. The station has several access points, one of which takes through the roof. Keep your head down, open ranges are perfect grounds for snipers!

The second checkpoint is a control tower that allows you to gain direct access to the rocket silo and the actual control panel. Note the mobile cabin atop the construction crane and air vents -- these offer amazing opportunities for an ambush, whether you're into aerial assaults or flanking your enemy.
The third checkpoint is the missile control room. Maintain high situational awareness and use cover when in doubt. Oh, you might want to stay clear of the exhaust pipes. Rocket engines tend to get pretty hot and will melt through anything in their immediate vicinity.
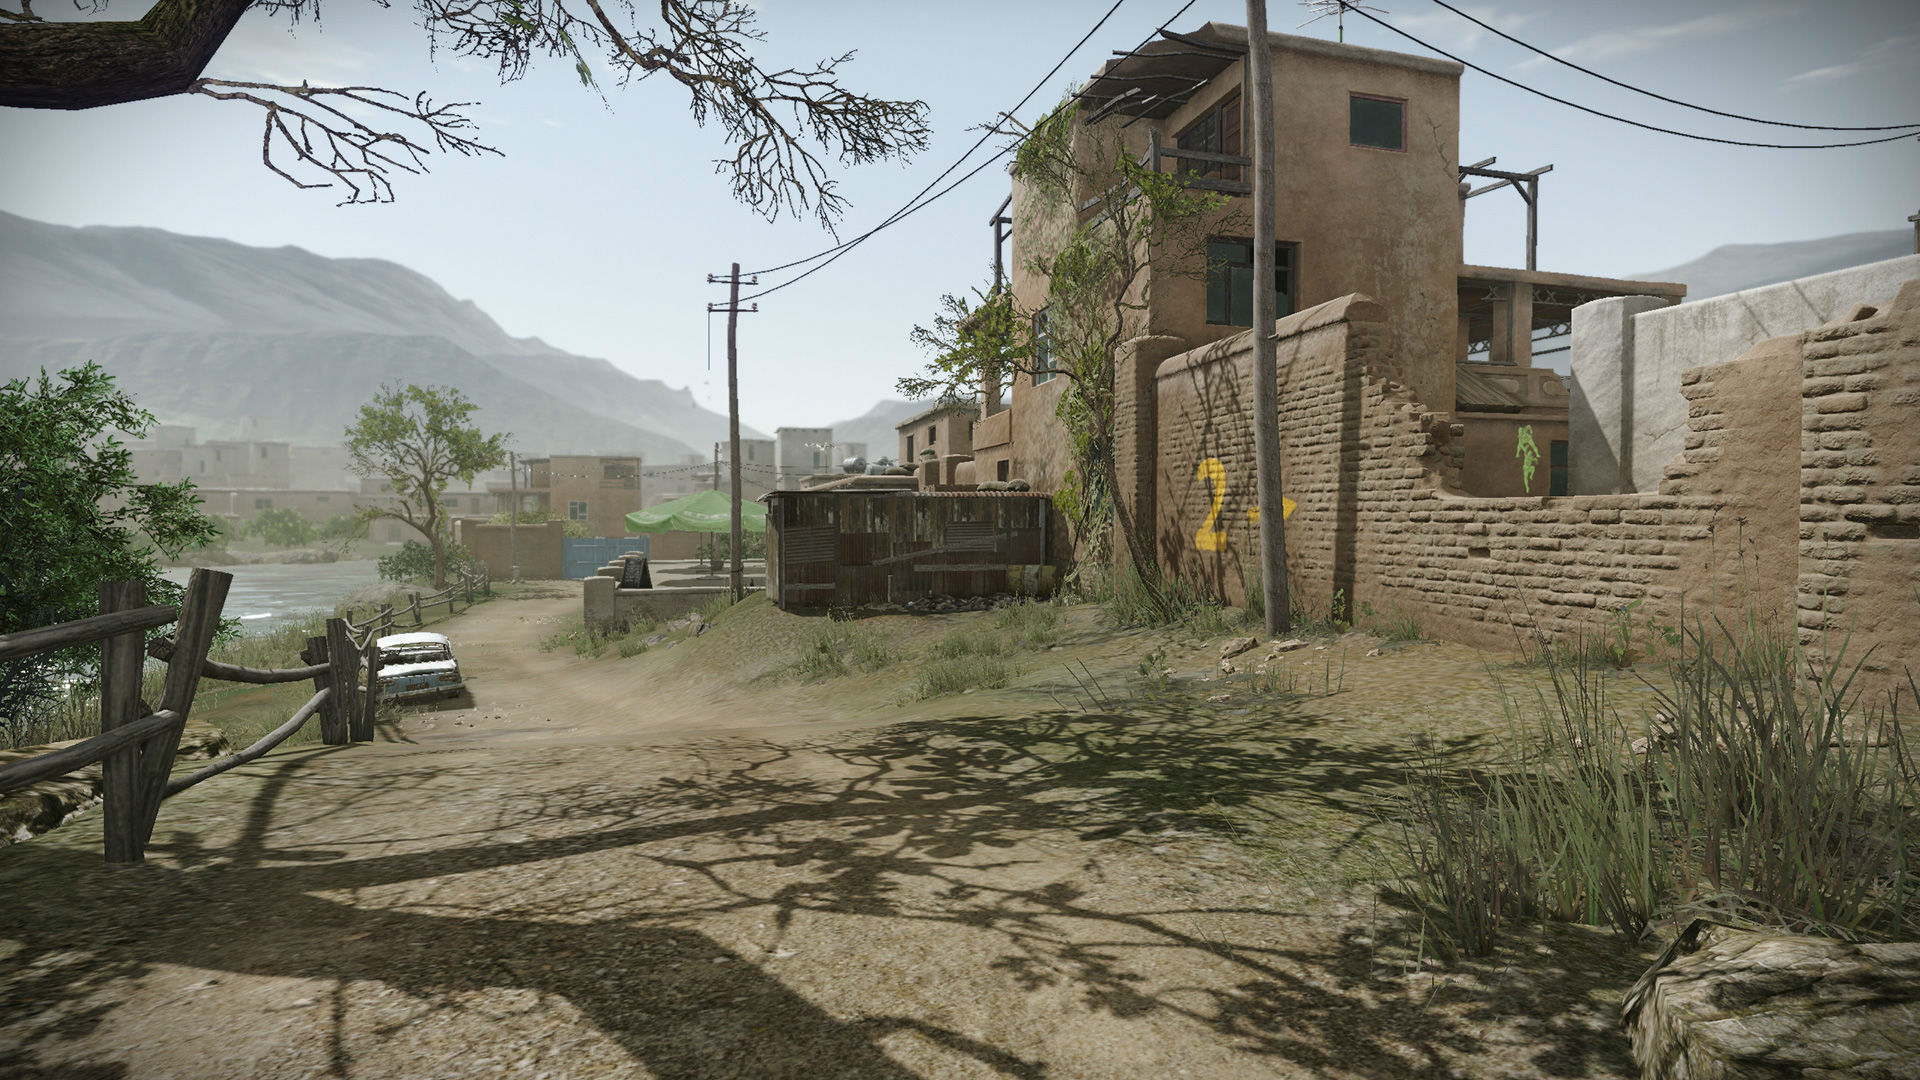
Map: Blackgold. The scene is a rich oil-producing complex in the Middle East.
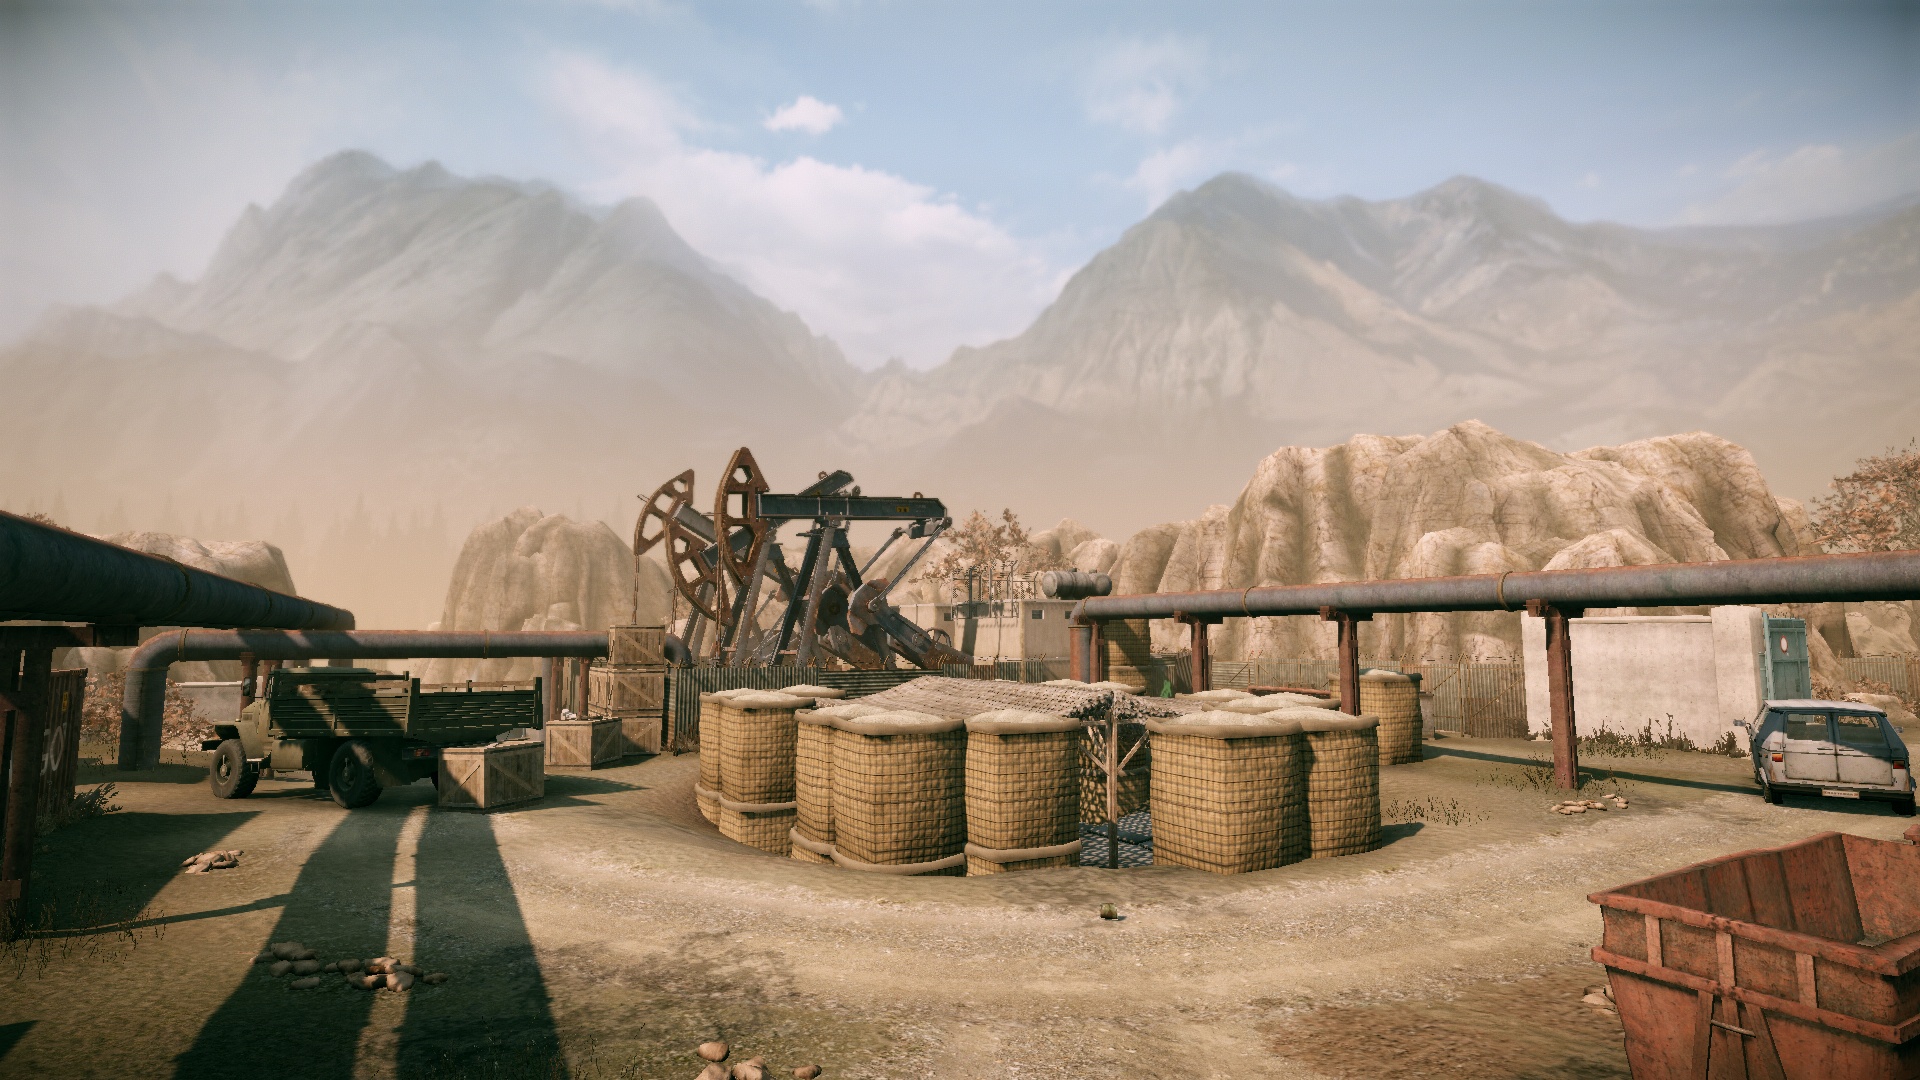
To fully control the territory, you must capture the enemy strongholds, but that won’t be easy: a multitude of buildings, abandoned vehicles, towers, pipes, containers and immersed pumps – any of it could make a great spot for an ambush or solid cover.
You must do battle under a rain of fire from the enemy in harsh conditions. Search for alternative routes and take strategically important positions, but don’t forget about your main goal – the clock is ticking!
Discuss the article